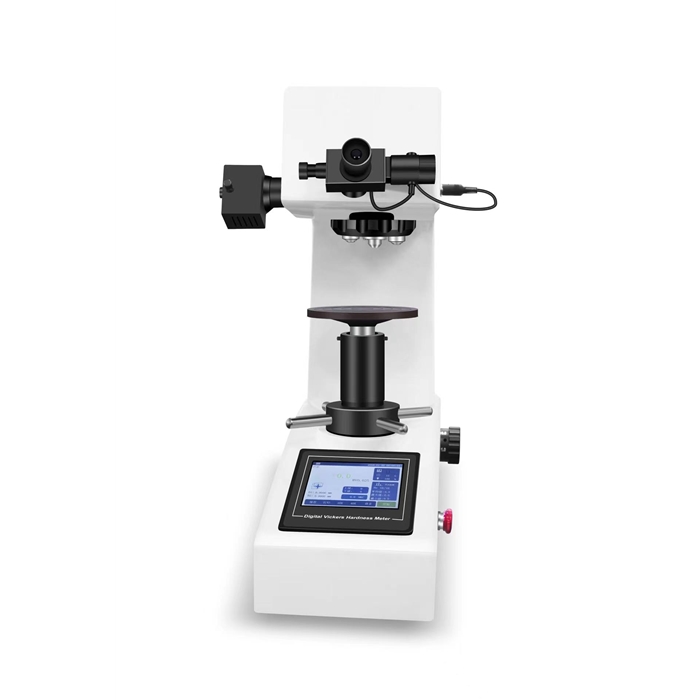
MHVS-5A/10A/30A/50A
Product Feature:
This product in the mechanical, optical, light source on the use of unique, precise design, so that the indentation imaging more clear, more accurate measurement. The instrument adopts a closed-loop loading control system to improve the accuracy of the test force, and the repeatability and stability of the indication value are good. The new display screen LCD is used to display, and the hardness scale HV or HK can be selected on the operation panel. The tested hardness value can be converted to each other. It is equipped with two groups of objective lenses that can participate in the measurement, so that the measurement range is wider, the application range is wider, the operation is more intuitive and clearer, the test method, test force, indentation length, hardness value, test force holding time, date, time, hardness conversion value and other functions can be displayed on the screen, and it has a threaded interface for connecting digital cameras and CCD cameras, which is convenient to select computers and hardness analysis and measurement software.
Application:
Suitable for quenching, quenching and tempering, annealing, chilled castings, malleable castings, hard alloy steel, aluminum alloy, copper alloy, bearing steel and other hardness determination.
Technical Parameter:
|
Name |
Specification |
||
|
Test force |
MHVS-5A |
0.1Kgf、0.2Kgf、 0.3Kgf、0.5Kgf、1Kgf、2Kgf、2.5Kgf、 3Kgf、5Kgf |
|
|
MHVS-10A |
0.1kg、0.2kg、0.3Kgf、0.5Kgf、1Kgf、2Kgf、2.5Kgf、3Kgf、5Kgf、10Kgf |
||
|
MHVS-30A |
0.3kgf、0.5kgf 、1Kgf、2Kgf、2.5Kgf、3Kgf、5Kgf、10Kgf、20Kgf、30Kgf |
||
|
MHVS-50A |
0.5kgf、 1kgf、2kgf、 2.5kgf、 3kgf、5kgf、 10kgf、20kgf、30kgf、 50kgf |
||
|
Hardness measurement range |
5HV~3000HV |
||
|
Test mode |
HV/HK |
||
|
Loading method |
Automatic(Loading/Maintain/Unloading) |
||
|
Objective lens and indenter conversion |
Automatic |
||
|
Convert scale |
HRA、HRB、HRC、HRD、HRF、HV、HK、HBW、HBS、HR15N、HR30N、HR45N、HR15T、HR30T、HR45T |
||
|
Objective lens |
MHVS-5A |
10× (observation),40×(Measurement) |
|
|
MHVS-10A/30A/50A |
10× (observation),20×(Measurement) |
||
|
Eyepiece |
10× digital micrometer |
||
|
Dwelling time |
1~60s |
||
|
Data output |
LCD display,built-in printer |
||
|
Light source |
Halogen |
||
|
Max. height of specimen |
175mm |
||
|
Distance from indenter to inner machine wall |
125mm |
||
|
Power supply |
AC220V,50Hz |
||
|
Executive standard |
ISO 6507,ASTM E384,JIS Z2244,GB/T 4340.2 |
||
|
Dimension |
320*580*650mm |
||
|
Weight |
Net weight about 55kg |
||


